Overview: Having a Gmail account is kind of necessary if you are a frequent user of the Internet. If you don’t have a free Gmail / Google account, then don’t worry. This guide will provide you with the detailed steps to create Gmail account along with screenshots.
A Gmail account or we can say a Google account is used for various purposes like using YouTube, Google Maps, Google Drive, and various other services by Google. Moreover, there are many websites that need you to either create a separate account on their website or provide an option to log in via a Google account.
Thus, when there are so many uses for having a free Google / Gmail account, it is also necessary to have one for you. However, if you are unaware of the steps to create a free Gmail account, this is the best possible guide.
Firstly we will start with the steps to create a Gmail account for yourself.
How to Create a Gmail Account for Yourself – With Screenshots
- To start with the process, first go to Gmail website – https://www.google.com/gmail/about/
- Click on the Create an account option at the top-right corner.

- If you are already signed into a Gmail account, then click on the top-right icon > choose Add another account option and then click on Create account option.

- In the next screen, you need to enter your First and Last Name. Here, providing the Last Name is (optional).
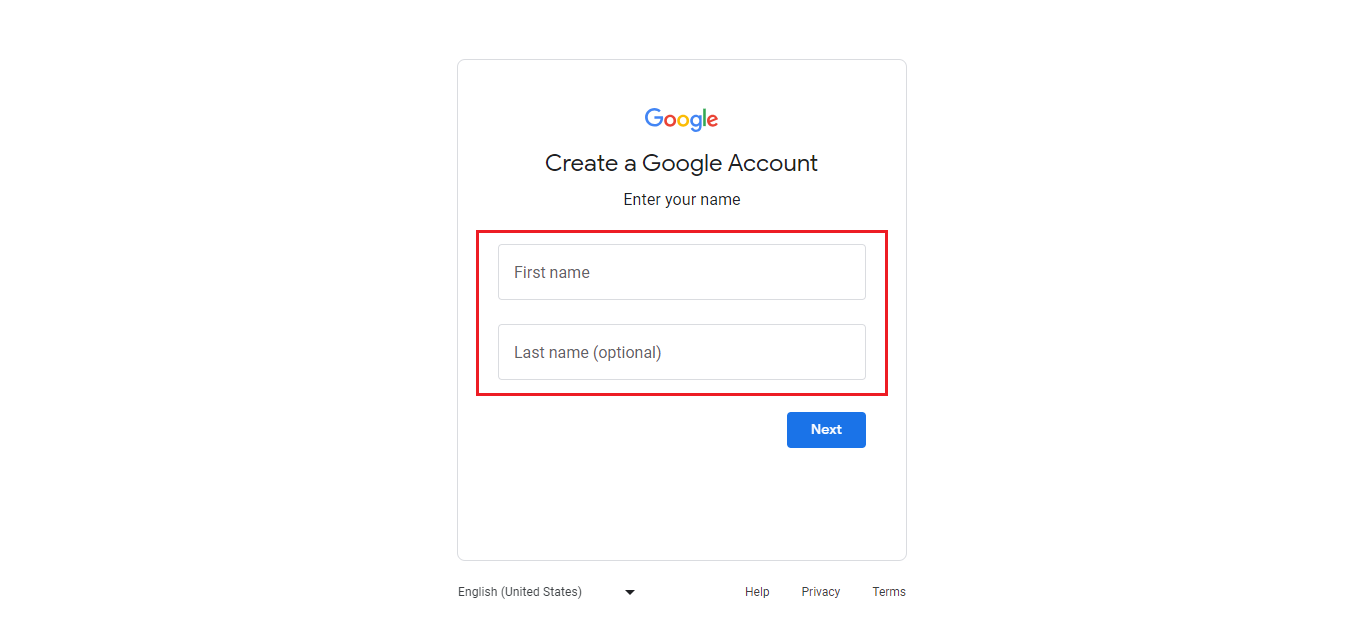
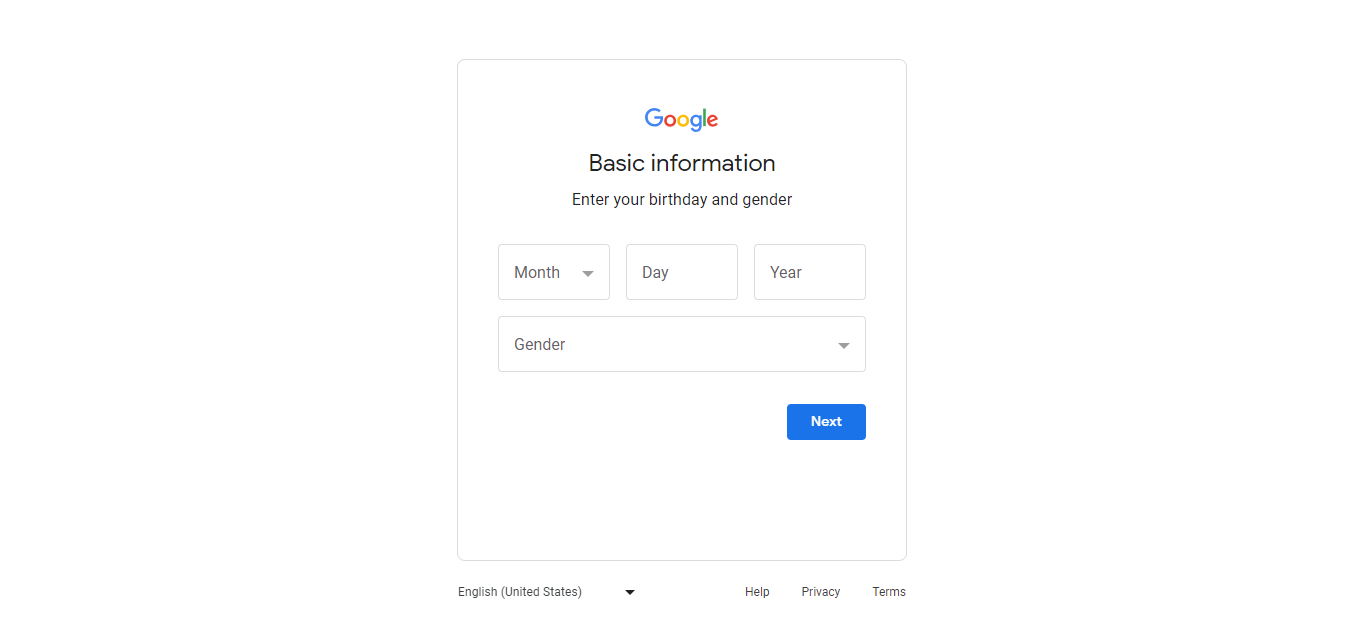
- Following that, provide your Date of Birth and Gender.
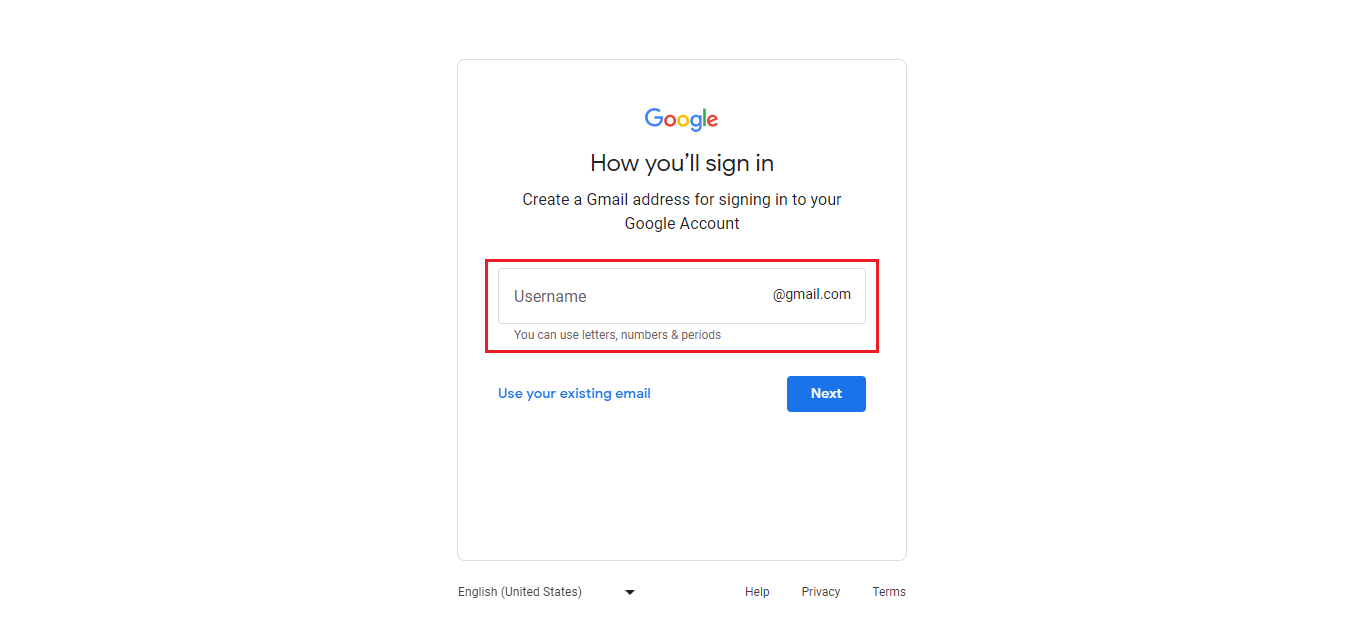
- Then create a username using which you will log in to your Gmail account. You must note that the username must be unique and might contain letters, numbers, and periods.
- Here comes the password screen where you need to create a strong password. Try to mix it with letters, numbers, and symbols.

- In the next step, Google will ask you to verify your phone number. Enter your phone number and click the Next button to proceed further.

- Enter the verification code that you received on your number.

- After successful verification, you need to enter the phone number that you need to link to your Google account. Additionally, you can also add a recovery email in order to keep your account secure.
- You will then come to Google’s privacy policy and terms page. After going through those terms, click on I Agree to finalize the process.
- Finally, the Gmail Inbox page will open that show that you have successfully created your Gmail account.
How to Create a Gmail Account for Someone Else?
The process of creating a Gmail account is almost the same, whether you want to set up a new Gmail account for a friend or a family member. But there are a few crucial details you need to remember for setting it up.
First and foremost, make sure that you are not signed in to your Gmail account or using Browser’s Incognito mode to create a new Gmail account for someone else. Additionally, don’t select the Add Another Account option in your own Gmail account.
Secondly, make sure to add other person’s details for whom this account is intended to. Moreover, the username should reflect the person’s preferred / desired username.
You also need to add another person’s mobile number to get a verification code. However, if he / she is unavailable or doesn’t have a phone, then you can add your mobile number for now and later on remove it from the Gmail account.
Finally, after setting the username and password of the new Gmail account, handover these details to the user so that they can start using their account.
While creating a new Gmail account for someone else, you can add your existing email ID in the recovery email option. This email can be used for password reset if the other person forgets the password.
Read More: Best Websites to Find Work from Home Jobs
Tips to Create a Strong Password for Your Gmail Account
When creating a new Gmail account for free, make sure you don’t use any phrase or word related to you. It can be anything from your nickname, date of birth, phone number, etc. These kinds of passwords are usually easier to guess.
It is always recommended to create passwords that are at least 10-12 characters long. Moreover, you can also use uppercase or lower case letters and add some special characters like “_” or “@” to make it more complex to guess.


Very interesting points you have observed, regards for posting.Money from blog