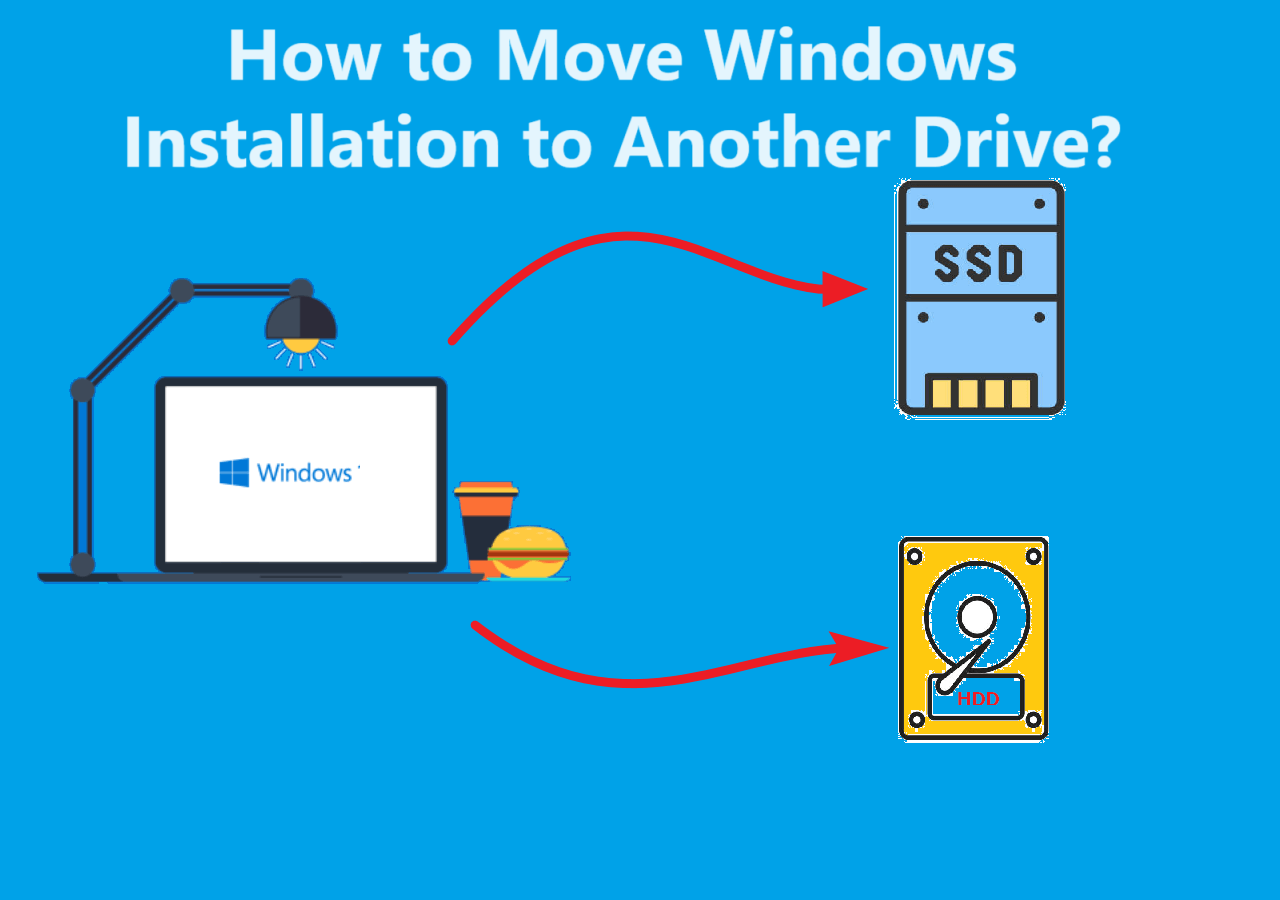
We are going to understand how to move Windows installation to another drive today. The only methods available are all mentioned here for users to apply. This is going to be a step-by-step progress guide which users have to be careful while executing.
Your computer’s hard drive stores important stuff like your operating system and apps. Sometimes, this drive can get full or stop working properly. When that happens, you might want to get a bigger or new hard drive.
This can make your computer work better and give you more space. But changing the hard drive usually means reinstalling everything, which is a lot of work.
Don’t worry, there’s a way to move Windows install to new drive. We can move everything to the new drive without starting over.
In this blog, we’ll show you how to move the installations to a different drive. With some easy steps and a tool called EaseUS Todo Backup, you can do it without too much trouble. We will also be sharing the prerequisites to transfer the installation to the new hard drive.
Let’s get started to transfer all the data!
Preparations Before Learning How to Move Windows Installation to Another Drive
Before we go on the journey of moving your installation to a new drive, you’ll need to prepare a few things:
- A New SSD or HDD: First and most important thing, you’ll need the new storage drive (SSD or HDD) to which you want to migrate your installation. Make sure that it’s connected to your computer. You can use a cable or a USB adapter for this purpose. If your computer has multiple drive slots, you can directly move Windows install to new drive.
- Space: The storage space on your new drive should be larger than the space occupied by your Windows 10 system and data files.
- System Backup and Clone Software: You’ll need a system backup and cloning software installed on your computer. We recommend using the EaseUS Todo Backup. It’s a reliable tool that makes the process simple and efficient. Installing it is a breeze and takes up very little storage space.
With these preparations in place, let’s proceed with the methods to move Windows 10 installation to another drive.
Method: Clone the Installation to a New SSD/HDD With a Tool
This is the only method that we are going to talk about today as it is the only useful technique available which does not harm the data. Users can easily transfer their installation with the easiest steps as mentioned in the next section.
System cloning is a powerful feature offered by the software, making it possible to transfer your installation to the new drive without the need for reinstalling the operating system and all your programs. It’s a real time-saver, and here’s how you can do it.
Steps to Move Windows Install to New Drive Using the Software
Step 1: Launch the Software
- Start by opening the tool. On the main page, locate and click on “Tools”. You’ll find System Clone and other utilities in this section.

Step 2: Start the Cloning Process
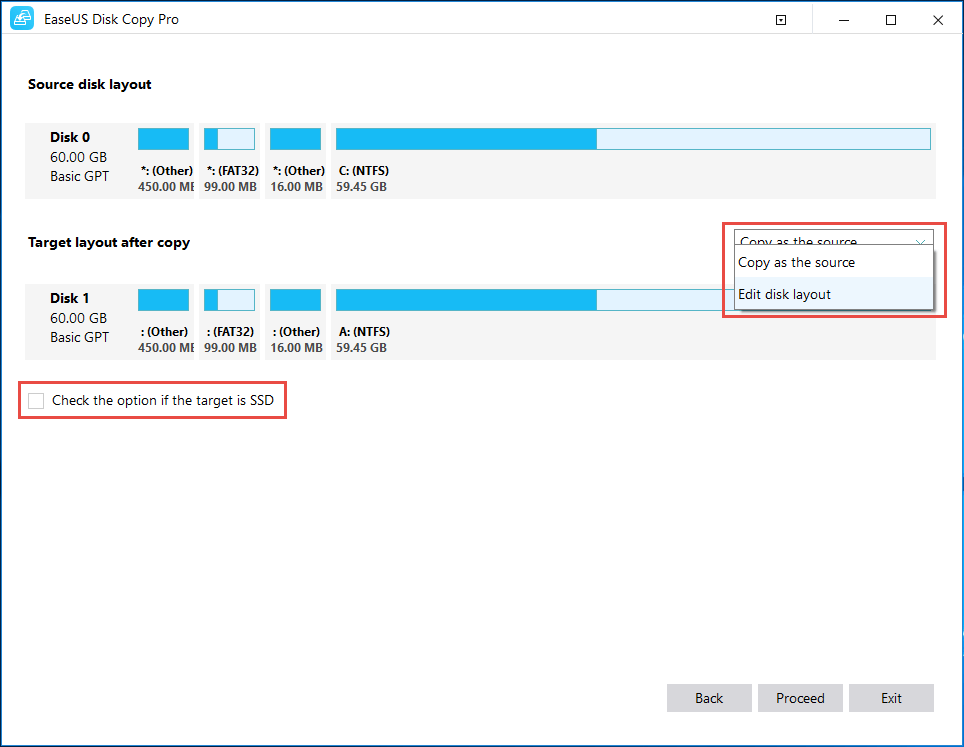
- The software will automatically select the boot and system partitions. All you need to do is choose the target disk (your new SSD or HDD) and click “Next”.

Please note that system cloning wipes out all data on the target drive and does not support cloning between MBR and GPT disks. So, to transfer Windows install to new drive, ensure that both the source and target disks have the same partition style.
Step 3: Optimize for SSD (If Applicable)
- If your new drive is an SSD, be sure to check the “Optimize for SSD” option under advanced settings for a more efficient experience.

Step 4: Initiate Cloning
- Finally, click “Proceed” to begin the cloning process.
And that’s it! The software will work its magic, cloning your Windows 10 installation to the new drive. Once the process is complete, you’ll have your operating system, programs, and data seamlessly transferred to.
Lasting Words
Learning how to move Windows installation to another drive (new HDD or SSD) doesn’t have to be a challenging task if you know the right way to do it. With the right tools and the method mentioned above, you can make the transition smoothly.
This will help you enjoy the benefits of improved performance and more storage without the need of a fresh installation. So, go ahead and upgrade your computer with confidence!

I like this blog very much, Its a really nice position to read and obtain info.Blog monry